System configuration is a simple way to store single values required for application functionality in both Magento 1 and 2. In this post we will show you how to add custom system configuration settings in Magento 2. The Configuration section within the Magento 2 administration allows you to configure details such as your company information, domain, payment details, and shipping cost. You can find the Configuration section within Store under the Settings section. At first sight, the panel may seem overwhelming, with a comprehensive set of configurations seemingly required in order to get going with your store. However, only a few of the settings are essential to begin selling your products and/or services online. In this guide we’ll concentrate on these settings, and leave the more in-depth configurations for another time. This means that we’ll focus on the General and Sales sections of the Configuration. 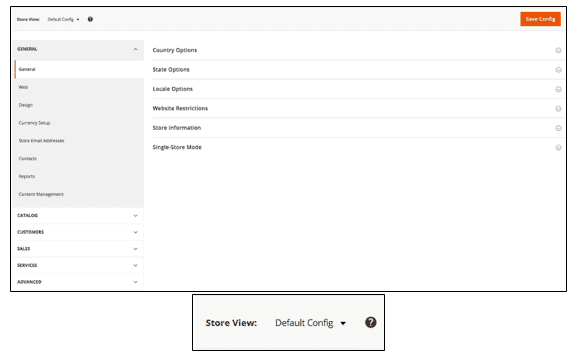 The Configuration section within Magento allows you to alter settings on up to 4 levels – Global, Website, Store, and Store view. For simplicity, we’ll set up a simple transactional website with just one store. When you first land on the Configuration section you’ll see the General section open, which is where we’ll start. Under Country Options set the Default Country, e.g. United Kingdom. You can also set the countries from which you will allow purchases under Allow Countries. By default all countries are selected.
  In the same section you’ll find the sub-header Store Information, which is where you should enter your company details.
 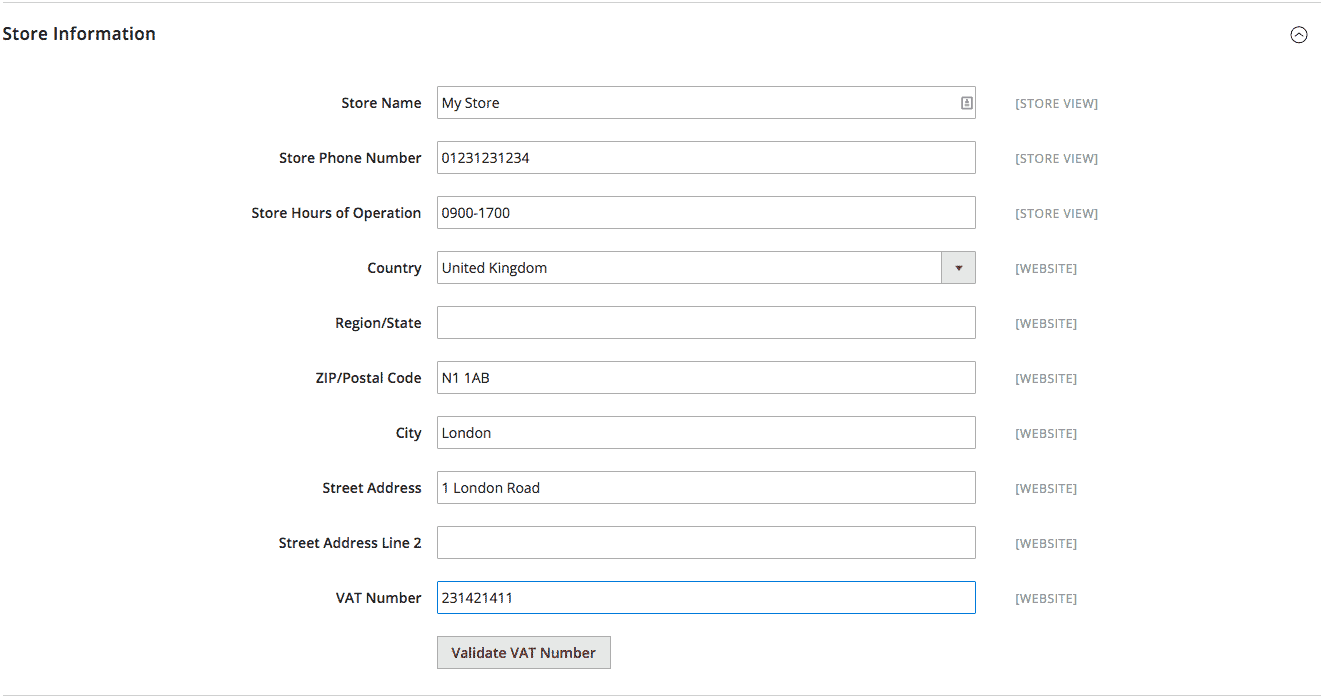 That’s it, click Save Config 1. Web and URLs Next we’ll move onto the Web sub-menu on your left, where we’ll look at some basic settings around URLs. Set the Base URL, which will be your domain (this may already have been set when you installed Magento).
 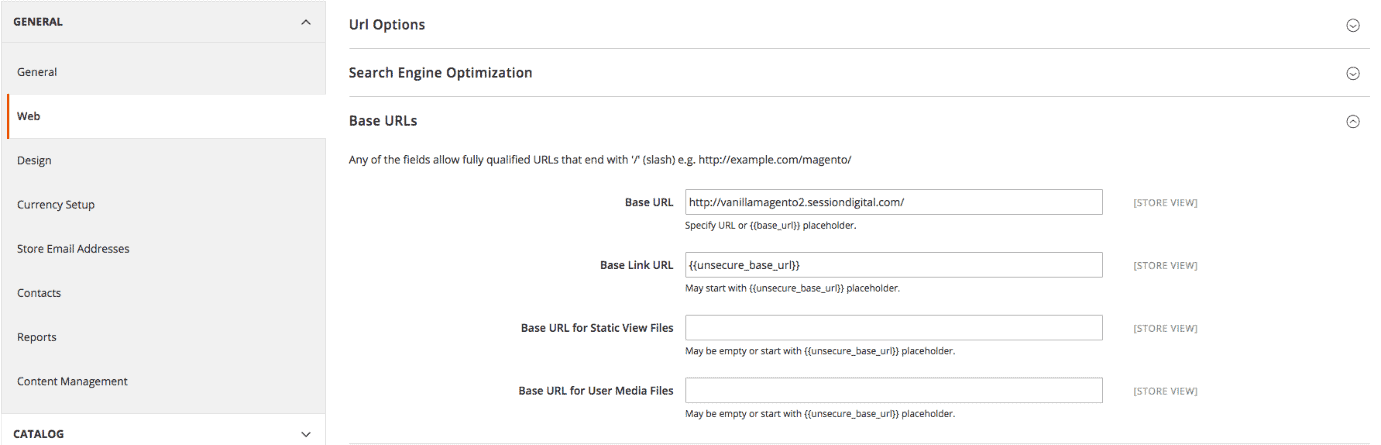 If you have an SSL certificate for your site (highly recommended), set the Secure Base URL, which will be the same as your domain. However, it will have https:// rather than http:// (this may already have been set when you installed Magento).
 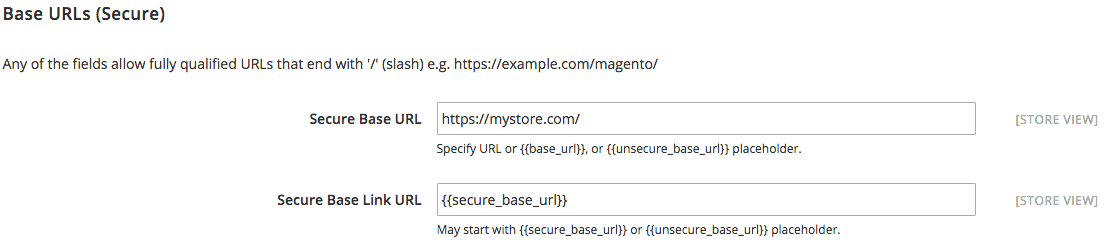 If you have an SSL certificate for your site, set both Use Secure URLs on Storefront and Use Secure URLs in Admin to Yes.
  Click Save Config before you move on. 2. Design Next we’ll look at the Design sub-menu on your left where you can set your site theme and logo amongst other things. Under Design Theme you can set your chosen design (e.g. if you’ve got a theme developed or have bought a pre-built theme). Magento 2 offers a native responsive theme, so you can easily get started
 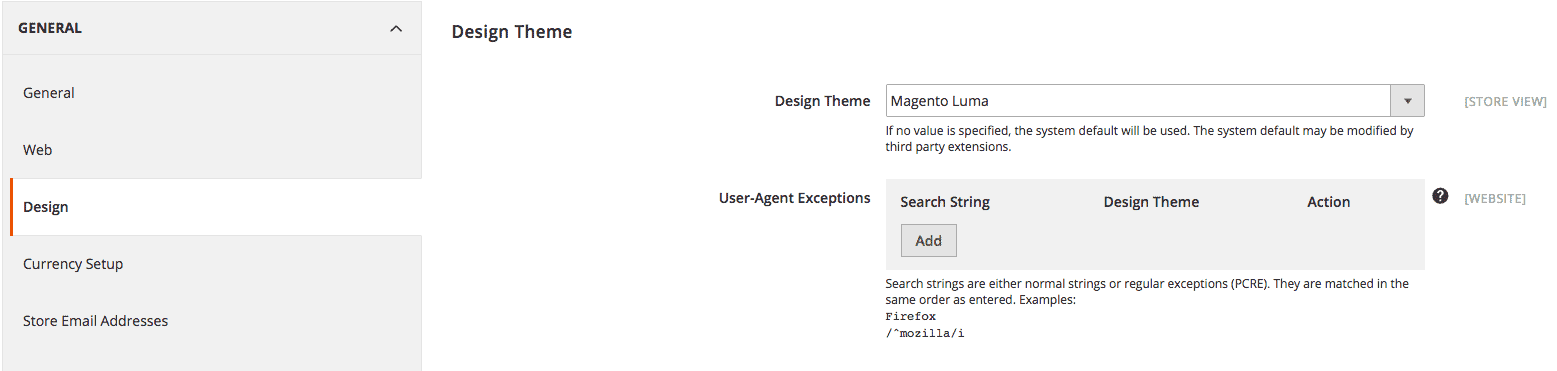 Under HTML Head you can upload your favicon and set the default title of your store, as well as some default metadata for your site.
 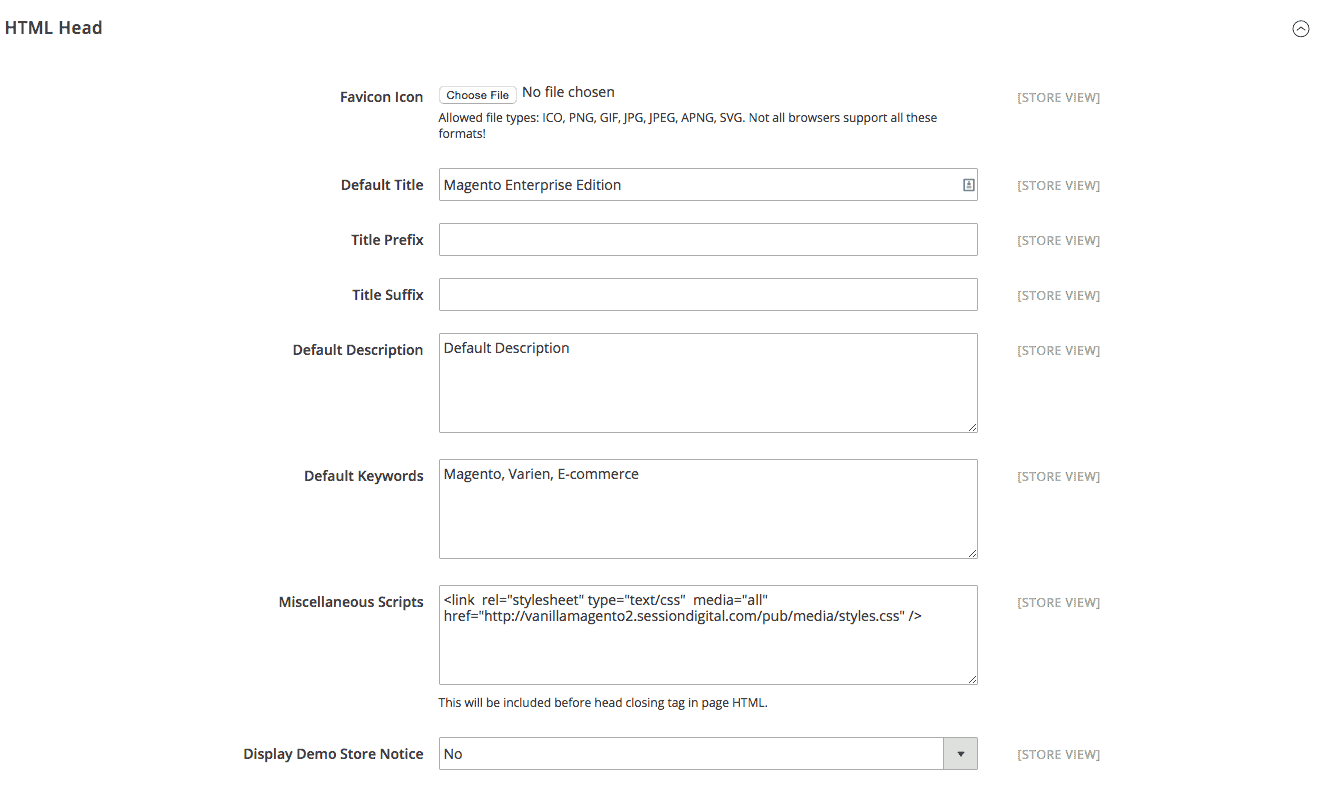 3. SEO Under Search Engine Robots, ensure the Default Robots is set to Index, Follow. This is so that search engines will index your website
 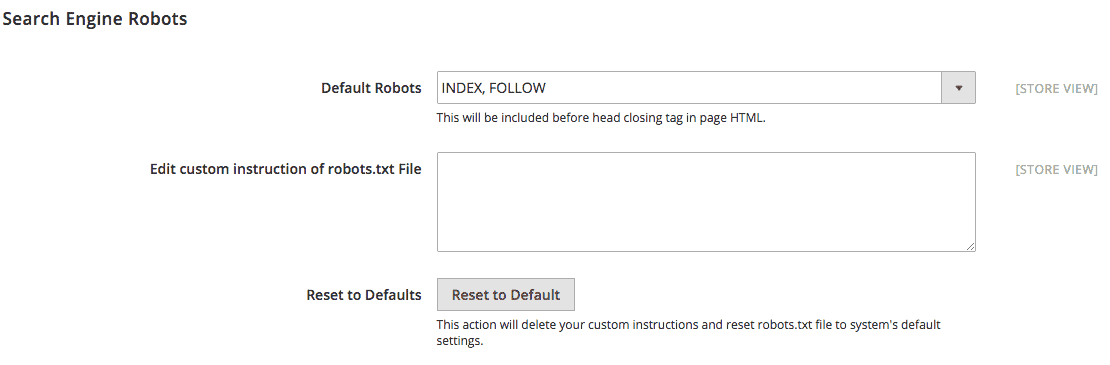 In the Header section you can upload your Logo Image and set its width and height as well as alt text for the logo.
 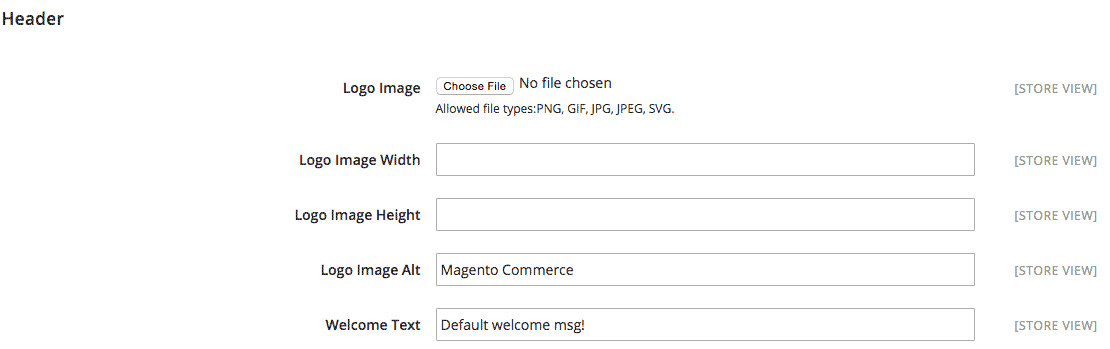 Under Footer you can ensure the footer details are tailored to your business. For example: Copyright © 2015 your company Ltd. All rights reserved.
  Finally for Design you need to make sure you add your Logo Image again under the Emails section so that your brand is displayed on transactional emails.
 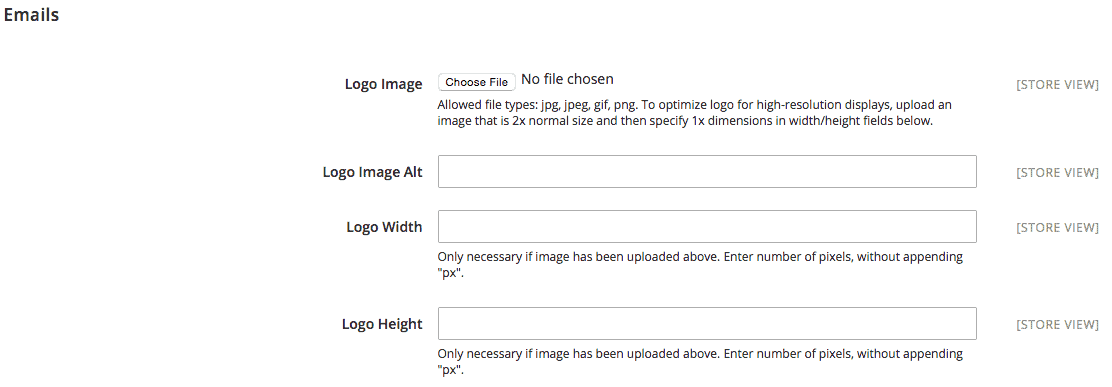 As before, click Save Config. 4. Currency Next, let’s look at currency. You can change these settings under Currency Setup in the sub-menu on the left. For this guide we’ll assume you’ll only sell in one currency, and you’ll therefore only need to configure the following two settings:
- Base Currency – this is currency you’ll receive payment in
- Default Display Currency – in this instance this should be set to the same as Base Currency
 Click Save Config when ready. 5. Emails In the Store Email Addresses sub-menu on your left you can set Sender Name and Sender Emails which will be used when Magento sends transactional emails to your customers. As a minimum you should set your Sender Name and Sender Emails for the following:
- General Contact
- Sales Representative
- Customer Support
 Save Config before moving on. In the next sub-menu, Contacts, you need to check the options under Email Options and ensure you’ve set the email you want the submissions from the Contact Us form be sent to.
  Save Config, to ensure your settings are saved.
